
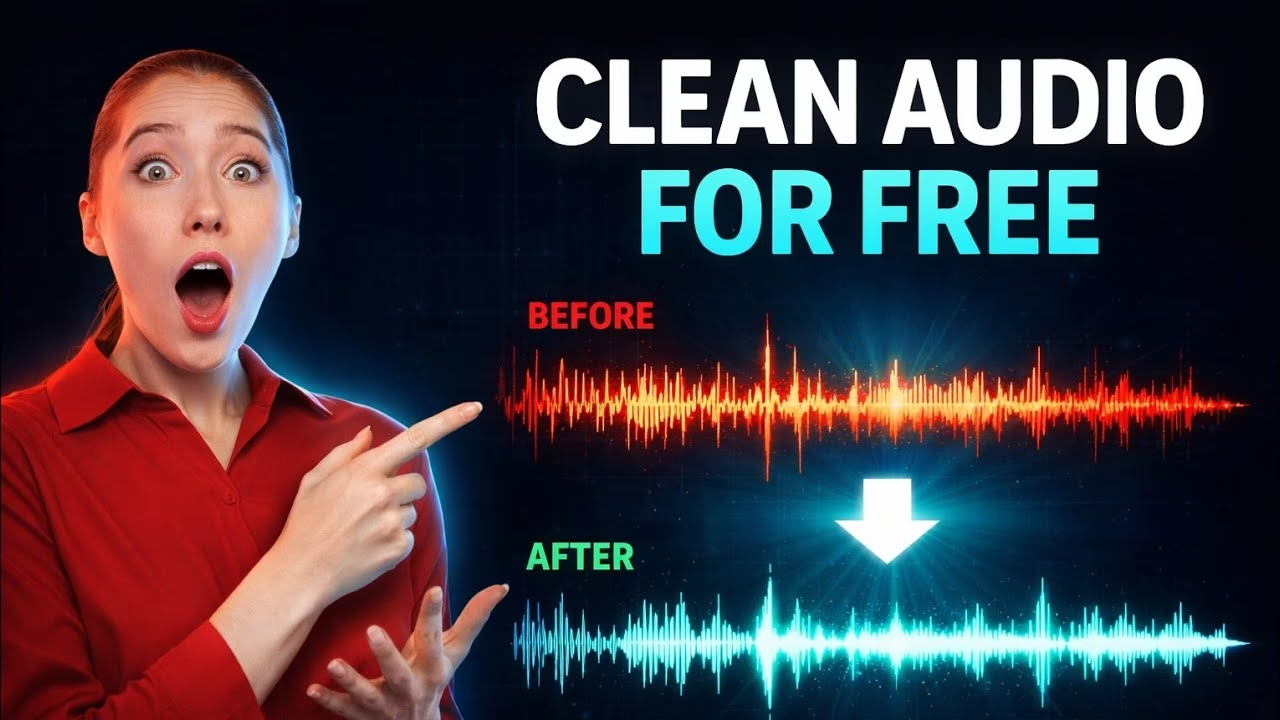
Clean Unlimited Audio For Free Using This AI Tool Nobody Talks About
Whether you are a YouTube creator, podcaster, or utilize text-to-speech AI voices, audio quality is critical to audience retention. Background noise, microphone hiss, and robotic digital artifacts can ruin otherwise high-quality content. This guide provides a complete tutorial on how to use a professional AI Audio Cleaner and Enhancer on Google Colab. Operating completely in the cloud with no local hardware requirements, this tool removes background noise and enhances voice quality for free with no time limits.
Table of Contents
- 1. What is the AI Audio Cleaner (Resemble Enhance)?
- 2. Accessing the AI Tool via UDP Custom
- 3. Configuring the Colab T4 GPU Runtime
- 4. Running the Google Colab Notebook Steps
- 5. Uploading and Enhancing Audio in the Gradio UI
- 6. Tuning Advanced Settings (Lambda and NFE Steps)
- 7. Frequently Asked Questions (FAQ)
1. What is the AI Audio Cleaner (Resemble Enhance)?
The AI Audio Cleaner is a cloud-based implementation of advanced noise-reduction and voice-enhancement algorithms (such as Resemble Enhance). Standard noise gate tools simply mute audio during silences, leaving background noise active when a subject speaks. In contrast, this deep learning model parses the speech spectrum, isolates the human voice, and synthetically reconstructs missing frequencies while removing background noise, fan hums, microphone hiss, and robotic compression artifacts. The result is studio-quality audio, even if recorded on a low-end microphone.
2. Accessing the AI Tool via UDP Custom
The pre-configured Google Colab notebook is hosted on our platform for quick deployment:
- Open your web browser and search for
Custom UDP. - Navigate to the official site: udpcustom.online.
- Tap on the site’s primary menu at the top of the homepage and select AI Tools.
- Locate the AI Audio Cleaner Tool in the directory and click it. This will redirect you to the Google Colab interface. Sign in using any Google account.
3. Configuring the Colab T4 GPU Runtime
Because running deep-learning speech models is processor-intensive, you must configure the notebook to run on a hardware graphics accelerator:
- In the Colab menu bar, click on **Runtime**.
- Select **Change runtime type**.
- Under Hardware accelerator, choose **T4 GPU** from the dropdown menu and click **Save**.
4. Running the Google Colab Notebook Steps
The notebook is organized into three steps. Click the play icon on the left of each cell to run them sequentially:
Step 1: Install Required Packages
Downloads and installs the Python libraries and audio packages onto Google’s virtual machine. A green checkmark will appear once installation is complete.
Step 2: Load Imports & Validate GPU
Initializes the backend and runs a diagnostic check to verify the T4 GPU is active. You will see a confirmation message indicating the GPU is mounted.
Step 3: Launch Gradio Web Interface
Compiles the backend and generates a public URL (ending with .gradio.live). Click this link to open the graphical user interface in a new browser tab.
5. Uploading and Enhancing Audio in the Gradio UI
Once inside the Gradio dashboard, follow these steps to process your audio:
- Upload Audio File: Drag and drop your audio file into the left upload box. The tool supports common formats including WAV, MP3, FLAC, Ogg, and M4A.
- Select Processing Mode: Set the mode to **denoise + enhance**. This ensures the AI removes ambient noise and enhances the vocal frequencies.
- Run Enhancer: Click the **Clean my audio** button. The first run takes about 1 minute because the virtual machine must download the model weights in the background. Subsequent file runs will compile in seconds.
- Download Output: Preview the clean, processed audio on the right side of the dashboard, and download the finished file to your device.
6. Tuning Advanced Settings (Lambda and NFE Steps)
If your source audio has extreme background noise or severe distortions, open the advanced settings accordion panel to customize the parameters:
- Lambda (Denoise Strength): Increase this slider to 0.8 or 0.9 to apply aggressive noise filtering. Lower values retain more of the original acoustics, while higher values maximize isolation.
- NFE Steps (Number of Function Evaluations): Controls the generation quality. Raising this value improves the final audio output and reduces artifacts, though it increases the computation time.
7. Frequently Asked Questions (FAQ)
Q1: Are there any file length limits or subscription charges to use this tool?
A: No. Because this tool runs on Google Colab’s free virtual servers, there are no file length restrictions or monthly subscription fees. You can process long files (like podcast episodes or long voiceovers) without charges.
Q2: Why does the Gradio public link show a “Connection Error”?
A: A connection error indicates that the Google Colab virtual machine has gone idle or timed out. Return to your Google Colab tab, make sure the runtime is still connected, and run cell 3 again to generate a new Gradio URL.
Q3: How long can I run a processing session on the free GPU tier?
A: Google Colab allows up to 12 hours of continuous GPU usage per session. If your session expires or disconnects, simply reopen the notebook, execute the three setup cells sequentially, and you are ready to process files again.