

How to Create a WhatsApp Bot Using Replit
In today’s digital world, automation is the key to efficiency, and messaging apps like WhatsApp are no exception. Imagine having a personal assistant that can handle your chats, manage group interactions, and even perform advanced tasks like removing image backgrounds with a single command. This is all possible with a WhatsApp bot, and in this article, I’ll guide you through the step-by-step process of creating one using Replit and Gemini API.
What You’ll Need:
Before we start, let’s ensure you have everything required to get the bot up and running. Here’s a checklist of what you’ll need:
- Devices: A mobile phone, or a combination of a mobile phone and a laptop.
- Replit Account: This platform will be used to deploy the app.
- Session ID: Necessary for authentication.
- Gemini API Access: To enable interaction with Gemini services.
- bgremove API Access: For advanced image editing capabilities.
- Tutoiral: Watch complete tutorial here👇
Now, let’s dive into the detailed steps for creating your own WhatsApp bot.
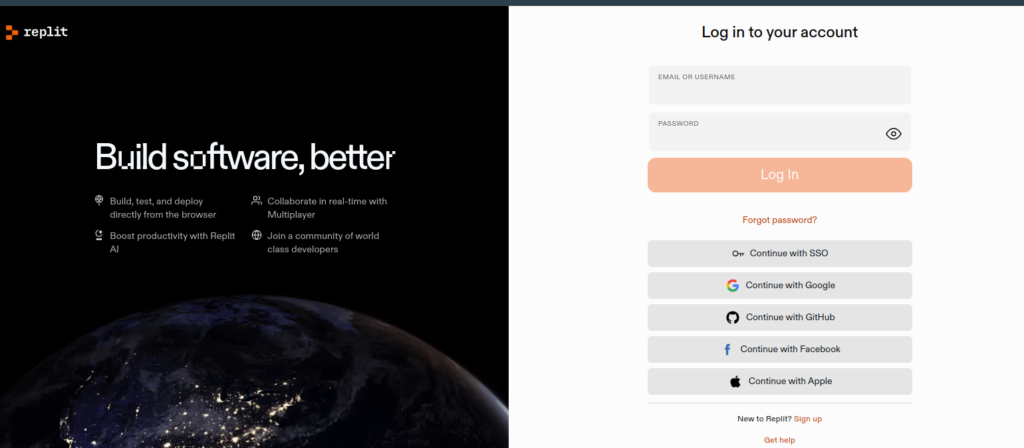
Step 1: Creating a Replit Account
The first step in our journey is to create a Replit account, which is the platform we’ll use to deploy and manage our bot.
- Visit Replit’s Website: Open your web browser and go to the Replit website.
- Sign Up: You can register using your Google, GitHub account, or email. Signing up with these options makes the process seamless and quick.
- Access the Homepage: Once registered, you’ll be directed to Replit’s homepage, where you’ll manage all your projects.
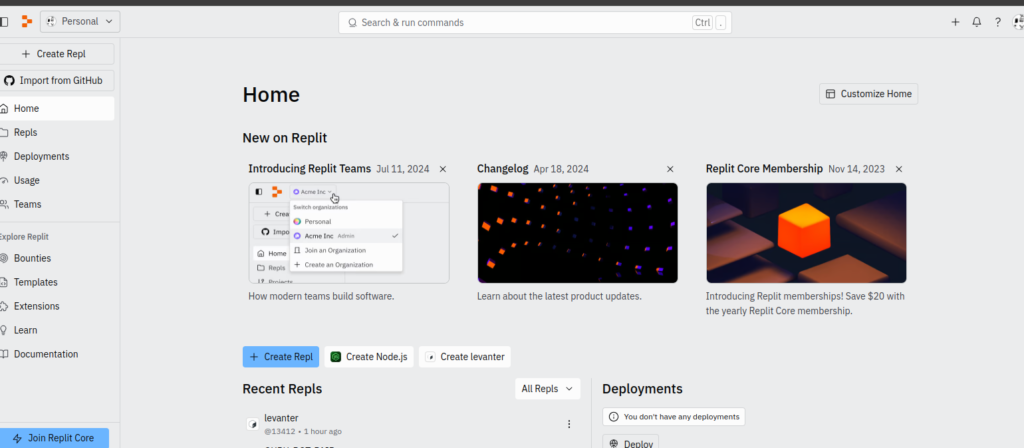
Step 2: Deploying the WhatsApp Bot on Replit
Now that you have your Replit account set up, it’s time to deploy the WhatsApp bot.
- Find the Bot Repository: Locate the bot repository by clicking the “Deploy on Replit” button in the blog post. This will redirect you to the repository page.
- Fork the Repository: Click the “Fork” button to create your own copy of the repository. Forking allows you to have a personalized version that you can modify and run without affecting the original codebase.
Step 3: Configuring the Bot
Configuring the bot is a critical step where you’ll input the necessary credentials and make adjustments specific to your needs.
- Access the Configuration File: In the Replit interface, open the shell and type;
nano config.env- then press Enter. This command will open the nano text editor, where you can make changes to the configuration file.
VPS = "true"
SESSION_ID = " "
SUDO = 987654321
PREFIX = .
STICKER_PACKNAME = LyFE
ALWAYS_ONLINE = false
RMBG_KEY = null
LANGUAG = en
WARN_LIMIT = 3
FORCE_LOGOUT = false
BRAINSHOP = 159501,6pq8dPiYt7PdqHz3
MAX_UPLOAD = 200
REJECT_CALL = true
SUDO = 989876543210
TZ = Asia/Kolkata
VPS = true
AUTO_STATUS_VIEW = true
SEND_READ = true
AJOIN = true
DISABLE_START_MESSAGE =true
PERSONAL_MESSAGE = null
GROUP_ADMINS = 987654321
GEMINI_API_KEY =key_from_api
RMBG_KEY = key_from_api
- Input Credentials: Enter your session ID, Gemini API key, and any other necessary information.
- Save Changes: Once you’ve made the necessary changes, save the file by pressing
Ctrl + O, hitting Enter to confirm, and thenCtrl + Xto exit the editor.
Step 4: Obtaining Session ID and Gemini API Key
To get your bot running, you’ll need a session ID and a Gemini API key. Here’s how to obtain them:
Session ID:
- Scan QR Code: Click on the “Session ID” button and choose the QR code method. Use your phone to scan the QR code displayed on the screen.
- Pairing Code Method: If you have only one mobile device, opt for the pairing code method. Follow the instructions to receive your session ID directly in your WhatsApp inbox.
- Save the ID: Make sure to save your session ID in a secure location, as you’ll need it to configure your bot.

Gemini API Key:
- Create a Gemini Account: If you haven’t already, register for a Gemini account.
- Access the API Section: Log in to your account and navigate to the API key section by clicking on the “Gemini API” button. Follow the prompts to obtain your API key.
- Copy the Key: Once you have your API key, copy it and store it securely for future use.
Step 5: Inputting Your Credentials
Return to Replit and use the arrow keys to navigate through the config.env file. Paste your session ID and Gemini API key where prompted.
- Save Changes: After entering your credentials, save and exit the file using the previously mentioned steps (
Ctrl + O, Enter,Ctrl + X).
Step 6: Running the Bot
With everything set up, it’s time to bring your WhatsApp bot to life.
- Start the Bot: In Replit, click on the “Run” button located at the top of the screen. This action will initiate the bot’s startup process.
- Install Packages: The bot will automatically begin installing necessary packages. This step may take a few minutes, so please be patient.
- Performance Consideration: Since we’re using Replit’s free version, the bot may run slower than on a paid hosting plan. Consider upgrading if speed becomes an issue.
Step 7: Interacting with the Bot on WhatsApp
Once the bot is running, you can start using it on WhatsApp by sending specific commands. Here’s a quick guide on how to interact with your bot:
- Prefix Commands with a Dot: To execute a command, type a dot (.) followed by the command name. For example:
.menuto display all available commands..aliveto check if the bot is online..Geminito access Gemini-specific functions.
Explore the bot’s capabilities and experiment with various commands to see how it can enhance your WhatsApp experience.
Conclusion
Congratulations! You’ve successfully created and deployed your very own WhatsApp bot using Replit and Gemini API. This bot can streamline your messaging interactions, automate repetitive tasks, and even perform complex actions like removing image backgrounds. The possibilities are endless!
If you have any questions or need further assistance, feel free to leave a comment below or reach out to me on social media. I’d love to hear your feedback and see how you’re using your new WhatsApp bot.