
Get Unlimited WINDOWS 11 RDP | No Credit Card Required
- Create a new private repository on GitHub.
- Navigate to **Settings > Secrets and variables > Actions > New repository secret**.
- Name the secret
NGROK_AUTH_TOKENand paste your copied token as the value. Click **Add secret**. - Create a second secret named
USER_PASSWORD. Input a password that you will use to log in to the remote Windows machine.
Step 3: Triggering the Workflow & Connecting
Now, deploy the remote Windows instance:
- In your GitHub repository, create a folder structure:
.github/workflows/. - Create a file named
rdp.ymlinside that directory and paste the RDP workflow configuration code. - Commit the file. This automatically triggers GitHub Actions. Go to the **Actions** tab to monitor progress.
- In the workflow logs, look for the step showing the Ngrok tunnel address (e.g.
tcp://0.tcp.ngrok.io:12345). - Open the **Remote Desktop Connection** client on your PC. Input the Ngrok address (excluding the
tcp://prefix) as the computer name, enter the default username (usuallyrunneradmin), and the password you set in your repository secrets. Click **Connect**.
Frequently Asked Questions & Safety
1. How long does the free RDP session stay active?
GitHub Actions runs are limited to a maximum of 6 hours per job execution. After 6 hours, the runner will shut down automatically. You can restart the workflow job manually to generate a fresh instance.
2. What are the hardware specifications of the remote machine?
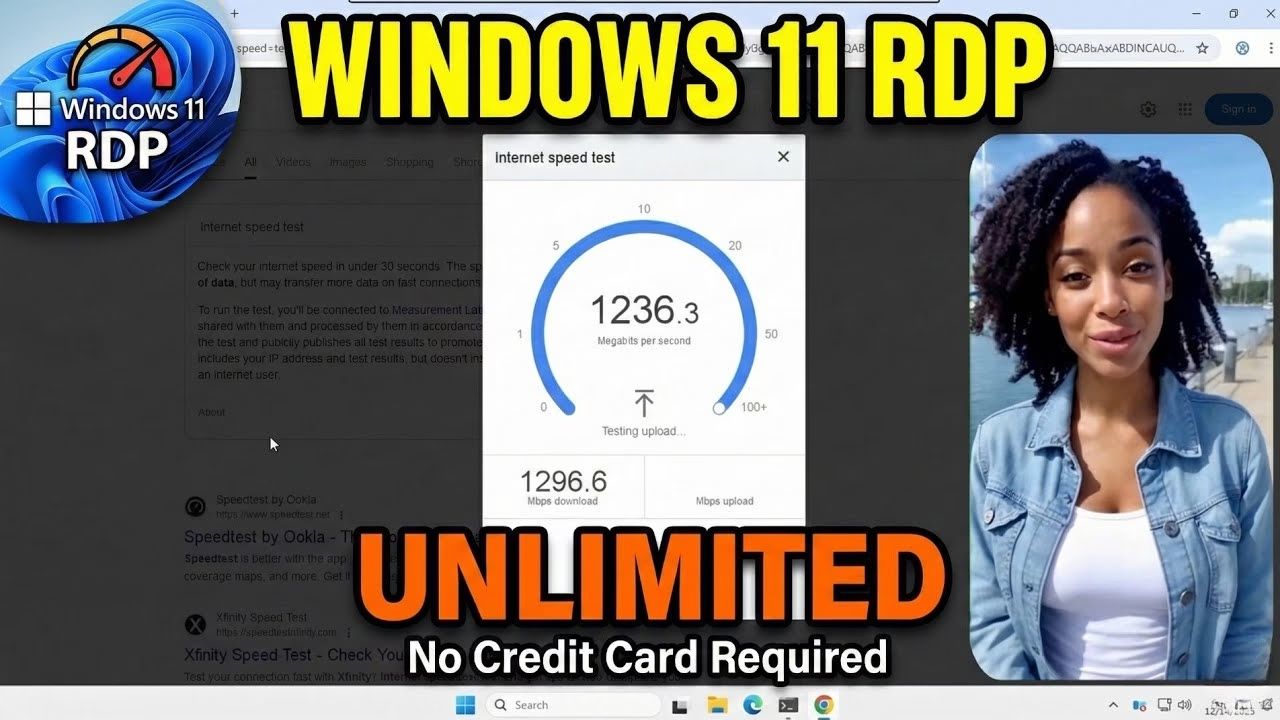
GitHub Actions hosted runners for Windows typically feature 2 CPU cores, 7GB of RAM, and high-speed network connections, which are excellent for running scripts and tests.
3. Is it safe to enter personal credentials on the remote VM?
The virtual machine is running in a public cloud. While it is isolated during your run, do not store sensitive files, credentials, or personal data on the VM. It is destroyed as soon as the workflow ends.
- Navigate to
ngrok.comand register for a free account. - Log in to your Ngrok dashboard, go to **Your Authtoken**, and copy the unique authentication token string to your clipboard.
Step 2: Configuring GitHub Secrets
To keep your Ngrok credentials secure, store them as repository secrets in GitHub:
- Create a new private repository on GitHub.
- Navigate to **Settings > Secrets and variables > Actions > New repository secret**.
- Name the secret
NGROK_AUTH_TOKENand paste your copied token as the value. Click **Add secret**. - Create a second secret named
USER_PASSWORD. Input a password that you will use to log in to the remote Windows machine.
Step 3: Triggering the Workflow & Connecting
Now, deploy the remote Windows instance:
- In your GitHub repository, create a folder structure:
.github/workflows/. - Create a file named
rdp.ymlinside that directory and paste the RDP workflow configuration code. - Commit the file. This automatically triggers GitHub Actions. Go to the **Actions** tab to monitor progress.
- In the workflow logs, look for the step showing the Ngrok tunnel address (e.g.
tcp://0.tcp.ngrok.io:12345). - Open the **Remote Desktop Connection** client on your PC. Input the Ngrok address (excluding the
tcp://prefix) as the computer name, enter the default username (usuallyrunneradmin), and the password you set in your repository secrets. Click **Connect**.
Frequently Asked Questions & Safety
1. How long does the free RDP session stay active?
GitHub Actions runs are limited to a maximum of 6 hours per job execution. After 6 hours, the runner will shut down automatically. You can restart the workflow job manually to generate a fresh instance.
2. What are the hardware specifications of the remote machine?
GitHub Actions hosted runners for Windows typically feature 2 CPU cores, 7GB of RAM, and high-speed network connections, which are excellent for running scripts and tests.
3. Is it safe to enter personal credentials on the remote VM?
The virtual machine is running in a public cloud. While it is isolated during your run, do not store sensitive files, credentials, or personal data on the VM. It is destroyed as soon as the workflow ends.
- A free **GitHub** account.
- A free **Ngrok** account (used to tunnel the remote RDP port past GitHub’s internal network firewalls).
- The specific workflow YAML configuration code.
Step 1: Setting Up Ngrok Tunneling
Ngrok provides a secure tunnel to expose the RDP port (3389) on the GitHub virtual machine:
- Navigate to
ngrok.comand register for a free account. - Log in to your Ngrok dashboard, go to **Your Authtoken**, and copy the unique authentication token string to your clipboard.
Step 2: Configuring GitHub Secrets
To keep your Ngrok credentials secure, store them as repository secrets in GitHub:
- Create a new private repository on GitHub.
- Navigate to **Settings > Secrets and variables > Actions > New repository secret**.
- Name the secret
NGROK_AUTH_TOKENand paste your copied token as the value. Click **Add secret**. - Create a second secret named
USER_PASSWORD. Input a password that you will use to log in to the remote Windows machine.
Step 3: Triggering the Workflow & Connecting
Now, deploy the remote Windows instance:
- In your GitHub repository, create a folder structure:
.github/workflows/. - Create a file named
rdp.ymlinside that directory and paste the RDP workflow configuration code. - Commit the file. This automatically triggers GitHub Actions. Go to the **Actions** tab to monitor progress.
- In the workflow logs, look for the step showing the Ngrok tunnel address (e.g.
tcp://0.tcp.ngrok.io:12345). - Open the **Remote Desktop Connection** client on your PC. Input the Ngrok address (excluding the
tcp://prefix) as the computer name, enter the default username (usuallyrunneradmin), and the password you set in your repository secrets. Click **Connect**.
Frequently Asked Questions & Safety
1. How long does the free RDP session stay active?
GitHub Actions runs are limited to a maximum of 6 hours per job execution. After 6 hours, the runner will shut down automatically. You can restart the workflow job manually to generate a fresh instance.
2. What are the hardware specifications of the remote machine?
GitHub Actions hosted runners for Windows typically feature 2 CPU cores, 7GB of RAM, and high-speed network connections, which are excellent for running scripts and tests.
3. Is it safe to enter personal credentials on the remote VM?
The virtual machine is running in a public cloud. While it is isolated during your run, do not store sensitive files, credentials, or personal data on the VM. It is destroyed as soon as the workflow ends.
Having access to a remote Windows machine can be highly useful for running background processes, testing applications, or managing networks. However, cloud virtual machines are typically expensive. A powerful, free solution is generating a cloud-hosted Windows Remote Desktop Protocol (RDP) instance using **GitHub Actions** and **Ngrok** tunneling.
This technical guide explains how to configure a GitHub Actions workflow, integrate Ngrok authentication, and connect securely to a free, high-speed Windows cloud environment without credit cards.
Table of Contents
- Video Tutorial
- Prerequisites
- Step 1: Setting Up Ngrok Tunneling
- Step 2: Configuring GitHub Secrets
- Step 3: Triggering the Workflow & Connecting
- Frequently Asked Questions & Safety
Video Tutorial
Prerequisites
Before launching, ensure you have the following:
- A free **GitHub** account.
- A free **Ngrok** account (used to tunnel the remote RDP port past GitHub’s internal network firewalls).
- The specific workflow YAML configuration code.
Step 1: Setting Up Ngrok Tunneling
Ngrok provides a secure tunnel to expose the RDP port (3389) on the GitHub virtual machine:
- Navigate to
ngrok.comand register for a free account. - Log in to your Ngrok dashboard, go to **Your Authtoken**, and copy the unique authentication token string to your clipboard.
Step 2: Configuring GitHub Secrets
To keep your Ngrok credentials secure, store them as repository secrets in GitHub:
- Create a new private repository on GitHub.
- Navigate to **Settings > Secrets and variables > Actions > New repository secret**.
- Name the secret
NGROK_AUTH_TOKENand paste your copied token as the value. Click **Add secret**. - Create a second secret named
USER_PASSWORD. Input a password that you will use to log in to the remote Windows machine.
Step 3: Triggering the Workflow & Connecting
Now, deploy the remote Windows instance:
- In your GitHub repository, create a folder structure:
.github/workflows/. - Create a file named
rdp.ymlinside that directory and paste the RDP workflow configuration code. - Commit the file. This automatically triggers GitHub Actions. Go to the **Actions** tab to monitor progress.
- In the workflow logs, look for the step showing the Ngrok tunnel address (e.g.
tcp://0.tcp.ngrok.io:12345). - Open the **Remote Desktop Connection** client on your PC. Input the Ngrok address (excluding the
tcp://prefix) as the computer name, enter the default username (usuallyrunneradmin), and the password you set in your repository secrets. Click **Connect**.
Frequently Asked Questions & Safety
1. How long does the free RDP session stay active?
GitHub Actions runs are limited to a maximum of 6 hours per job execution. After 6 hours, the runner will shut down automatically. You can restart the workflow job manually to generate a fresh instance.
2. What are the hardware specifications of the remote machine?
GitHub Actions hosted runners for Windows typically feature 2 CPU cores, 7GB of RAM, and high-speed network connections, which are excellent for running scripts and tests.
3. Is it safe to enter personal credentials on the remote VM?
The virtual machine is running in a public cloud. While it is isolated during your run, do not store sensitive files, credentials, or personal data on the VM. It is destroyed as soon as the workflow ends.