
Create 30 days ZIVPN UDP server | 30 days ZIVPN CONFIG
- Open your browser and search for an SSH Tunnel provider offering 30-day UDP accounts.
- Locate the ZIVPN UDP Server or Custom UDP page.
- Select a server location. It is recommended to choose a server close to your location (e.g., Singapore or UAE) to minimize routing distance.
- Enter a custom username and password.
- Click Generate. The site will create the account and output the server details:
- UDP Server IP / Hostname
- Port (usually 36712 or custom)
- Username & Password
Copy these details to your clipboard.
Step 3: Configuring the Tunnel Profile
Now, map these credentials into your ZIVPN application:
- Open the ZIVPN application.
- Tap the menu button or settings gear icon on the dashboard.
- Navigate to the **Custom Setting** or **UDP Settings** section.
- Input the copied Server IP/Host, Port, Username, and Password in the designated fields.
- Save the profile to lock in the configurations.
Step 4: Connection & Performance Verification
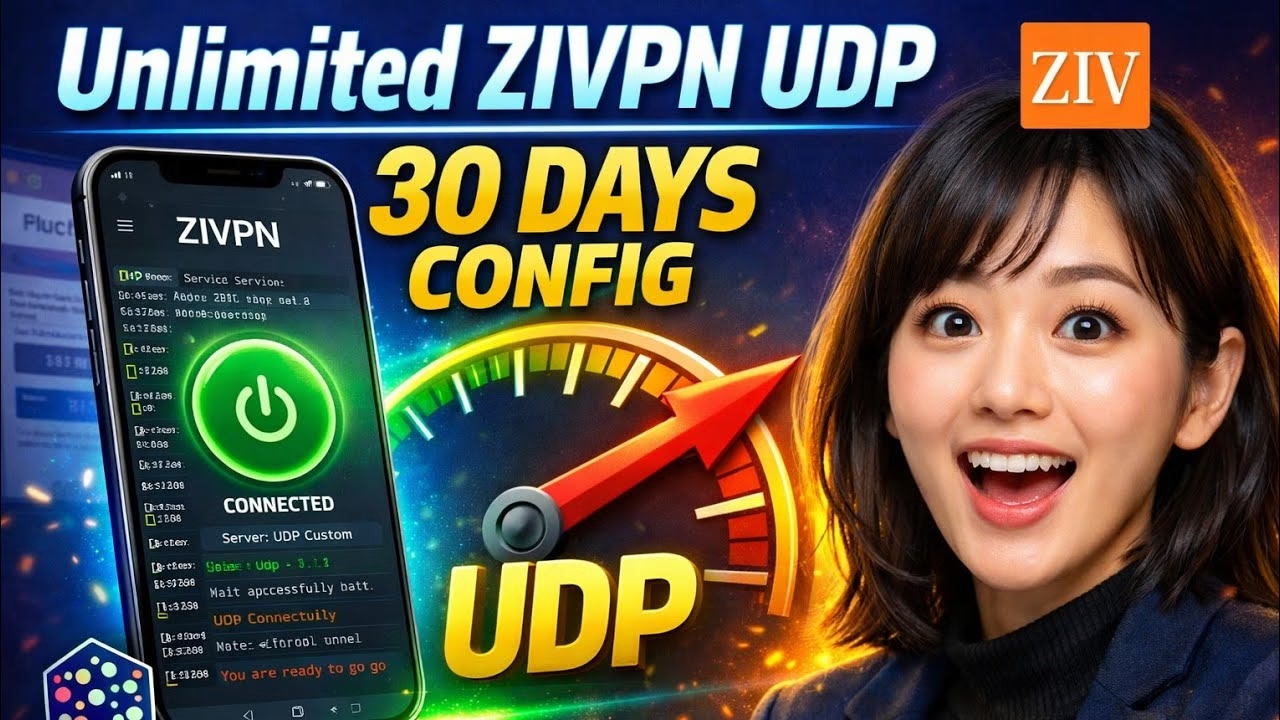
Return to the main screen. Ensure your cellular data is active, then tap the prominent Start button. Accept the Android connection prompt if asked. The application logs will display the socket connection handshake. Once it shows “Connected”, your traffic is securely routed through the low-latency UDP tunnel.
Frequently Asked Questions
1. Why does my ZIVPN UDP connection fail to connect?
UDP packets can sometimes be filtered by local ISPs. If the connection fails, verify that the UDP port (e.g. 53, 9201, or 36712) isn’t blocked by your network. Try changing the target port in the app settings or generating an account on a different server node.
2. Can I use this config for high-speed online gaming?
Yes. Custom UDP connections bypass the overhead of TCP congestion control. Choosing a server geographically close to your location will significantly reduce in-game ping and latency.
3. How do I export my config to share with friends?
Inside ZIVPN, tap the share icon at the top right, select Export Config, set a lock parameter if you want to protect your credentials, and save it. You can share the resulting .ziv file, which others can import into their ZIVPN client.
For high-performance, low-latency mobile tunneling, ZIVPN has become a leading option on Android. By routeing traffic through custom UDP sockets, it reduces TCP handshake overhead, making it ideal for gaming and streaming. However, standard free accounts often expire within a few days. Creating a dedicated 30-day ZIVPN UDP server profile ensures a stable, long-lasting connection.
This tutorial walks you through creating a 30-day UDP config account on an SSH tunnel provider and configuring the ZIVPN application for low latency.
Table of Contents
- Video Tutorial
- Step 1: Installing the ZIVPN Application
- Step 2: Generating a 30-day UDP Account
- Step 3: Configuring the Tunnel Profile
- Step 4: Connection & Performance Verification
- Frequently Asked Questions
Video Tutorial
Step 1: Installing the ZIVPN Application
Before configuring the server, you need the official VPN client installed:
- Open the Google Play Store on your Android device.
- Search for ZIVPN and select the official app developed by the authorized publisher.
- Download and install the app.
- Launch the app. On the main interface, navigate to the “Connection Type” segment and select UDP Custom. This tells the application to route traffic through custom UDP parameters instead of standard protocols.
Step 2: Generating a 30-day UDP Account
To establish a private tunnel, you need credentials from a high-speed VPN provider. Here is how to create a 30-day account:
- Open your browser and search for an SSH Tunnel provider offering 30-day UDP accounts.
- Locate the ZIVPN UDP Server or Custom UDP page.
- Select a server location. It is recommended to choose a server close to your location (e.g., Singapore or UAE) to minimize routing distance.
- Enter a custom username and password.
- Click Generate. The site will create the account and output the server details:
- UDP Server IP / Hostname
- Port (usually 36712 or custom)
- Username & Password
Copy these details to your clipboard.
Step 3: Configuring the Tunnel Profile
Now, map these credentials into your ZIVPN application:
- Open the ZIVPN application.
- Tap the menu button or settings gear icon on the dashboard.
- Navigate to the **Custom Setting** or **UDP Settings** section.
- Input the copied Server IP/Host, Port, Username, and Password in the designated fields.
- Save the profile to lock in the configurations.
Step 4: Connection & Performance Verification
Return to the main screen. Ensure your cellular data is active, then tap the prominent Start button. Accept the Android connection prompt if asked. The application logs will display the socket connection handshake. Once it shows “Connected”, your traffic is securely routed through the low-latency UDP tunnel.
Frequently Asked Questions
1. Why does my ZIVPN UDP connection fail to connect?
UDP packets can sometimes be filtered by local ISPs. If the connection fails, verify that the UDP port (e.g. 53, 9201, or 36712) isn’t blocked by your network. Try changing the target port in the app settings or generating an account on a different server node.
2. Can I use this config for high-speed online gaming?
Yes. Custom UDP connections bypass the overhead of TCP congestion control. Choosing a server geographically close to your location will significantly reduce in-game ping and latency.
3. How do I export my config to share with friends?
Inside ZIVPN, tap the share icon at the top right, select Export Config, set a lock parameter if you want to protect your credentials, and save it. You can share the resulting .ziv file, which others can import into their ZIVPN client.