
How to Create Your Own Proxy Server for Mobile APN and Wi-Fi Settings
In modern network administration and digital connectivity, configuring secure transmission lines is key to maintaining privacy and optimal data performance. This comprehensive guide focuses on How to Create Your Own Proxy Server for Mobile APN and Wi-Fi Settings, outlining the exact configuration parameters, setup workflows, and troubleshooting methods required to deploy this solution successfully.
Table of Contents
- Video Tutorial Walkthrough
- Step 1: System Requirements & Prerequisites
- Step 2: Configuration & Implementation Steps
- Step 3: Verification & Latency Testing
- Frequently Asked Questions & Troubleshooting
Video Tutorial Walkthrough
Step 1: System Requirements & Prerequisites
To configure and run the setup described in the tutorial, ensure you have the following prerequisites prepared in your work environment:
- An active mobile carrier data connection or local Wi-Fi.
- Access to your device’s APN (Access Point Name) configuration settings.
- Valid proxy server host IP address and port parameters.
Step 2: Configuration & Implementation Steps
Welcome back to 12_5 Tech. , I’ll guide you through a complete step-by-step process of creating your own proxy server and setting it up on your mobile APN and Wi-Fi settings for enhanced security. Whether you’re protecting your browsing privacy or testing server configurations, this tutorial will help you get started easily and safely.
Let’s begin by creating your proxy server. First, open any browser and visit the custom UDP website. Once you’re on the homepage, click on the hamburger icon in the top corner to expand the available menus.
From the list, select proxy server and again click on proxy server from the submen to start creating your own proxy. Now, scroll down until you find a section displaying a list of available HTTP proxies. Here, you’ll see multiple proxy servers with their IP addresses, usernames, and passwords.
Carefully copy these details, including the server IP, username, and password, and save them in a notepad for later use. These will be required when setting up your proxy connection on your device. Next, let’s configure this proxy on your Android Wi-Fi network.
Begin by opening your phone settings app and tapping on Wi-Fi. From the list of available networks, long press on the one you want to modify and tap modify network. Expand the advanced options section.
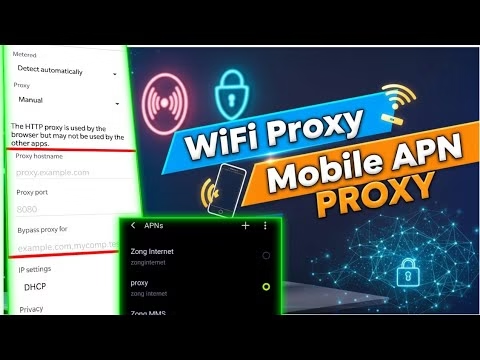
Then look for the proxy option. Select manual and you’ll see fields where you can enter your proxy host name and port. In the proxy host name box, type the proxy server address or IP that you saved earlier.
In the proxy port box, enter the corresponding port number. If you want Android to bypass certain websites without using the proxy, you can enter their addresses in the bypass proxy 4 field separated by commas. Finally, tap save to confirm your settings.
The next time you connect to this Wi-Fi, you may be asked for the username and password. Just enter the proxy credentials you copied before. Now let’s move on to setting up the proxy directly through your mobile APN settings.
Open the Android settings app again and tap on mobile network. Then select access point names or APNS. Choose the APN that you want to modify.
Inside the APN settings, you’ll see fields for proxy and port. Enter the proxy servers address and port that you previously created. Below that, fill in the username and password in their respective boxes.
Once done, tap the menu button and select save to store your changes. That’s it. You’ve successfully set up a secure proxy connection on both Wi-Fi and mobile data using your own custom proxy server.
This setup enhances your privacy, adds a layer of security, and allows you to manage your online traffic with greater control. If you found this guide helpful, please take a moment to like this video, share it with your friends, and subscribe to 12_5tech for more practical tech tutorials and privacy tips. See you in the next video.
Step 3: Verification & Latency Testing
Once the initial setup and configuration steps are completed, verify the connection status:
- Toggle the master connection switch in the client app dashboard.
- Monitor the live connection log. It should show a successful handshake and display a ‘Connected’ status.
- Navigate to a public IP verification tool (e.g. whoer.net) to verify that your original IP address is masked.
Frequently Asked Questions & Troubleshooting
1. Why is the proxy connection slow or lagging?
Proxy routing speed depends on server bandwidth and physical distance. To resolve slow speeds, choose a proxy server geographically closer to you. Additionally, ensure the target port isn’t rate-limited by your service provider.
2. How do I configure this proxy inside my Wi-Fi settings?
Go to your phone’s Wi-Fi settings, long-press on your active network, select Modify Network, toggle Advanced Options, set Proxy to Manual, and input the server host and port details.
3. Can a proxy mask all application traffic?
Proxies configured inside browser settings or Wi-Fi configurations only encrypt traffic for applications that support SOCKS or HTTP proxy routing. For full device encryption, route traffic through a system-level VPN client.