
Free VPN | UX Tunnel
Securing your internet connection and maintaining high-speed, uncensored access is paramount in today’s digital age. UX Tunnel VPN emerges as a reliable client application designed to route your internet traffic through encrypted VPN tunnels. By using optimized servers and carrier bypass tweaks, users can bypass local firewalls and protect their digital privacy easily.
This technical guide outlines how to download, install, and configure UX Tunnel VPN for fast, secure, and unlimited browsing.
Table of Contents
- Video Guide: UX Tunnel VPN Setup
- Step-by-Step Configuration Guide
- Sharing Connection via Tethering
- Frequently Asked Questions (FAQ)
- Stay Connected
Step-by-Step Configuration Guide
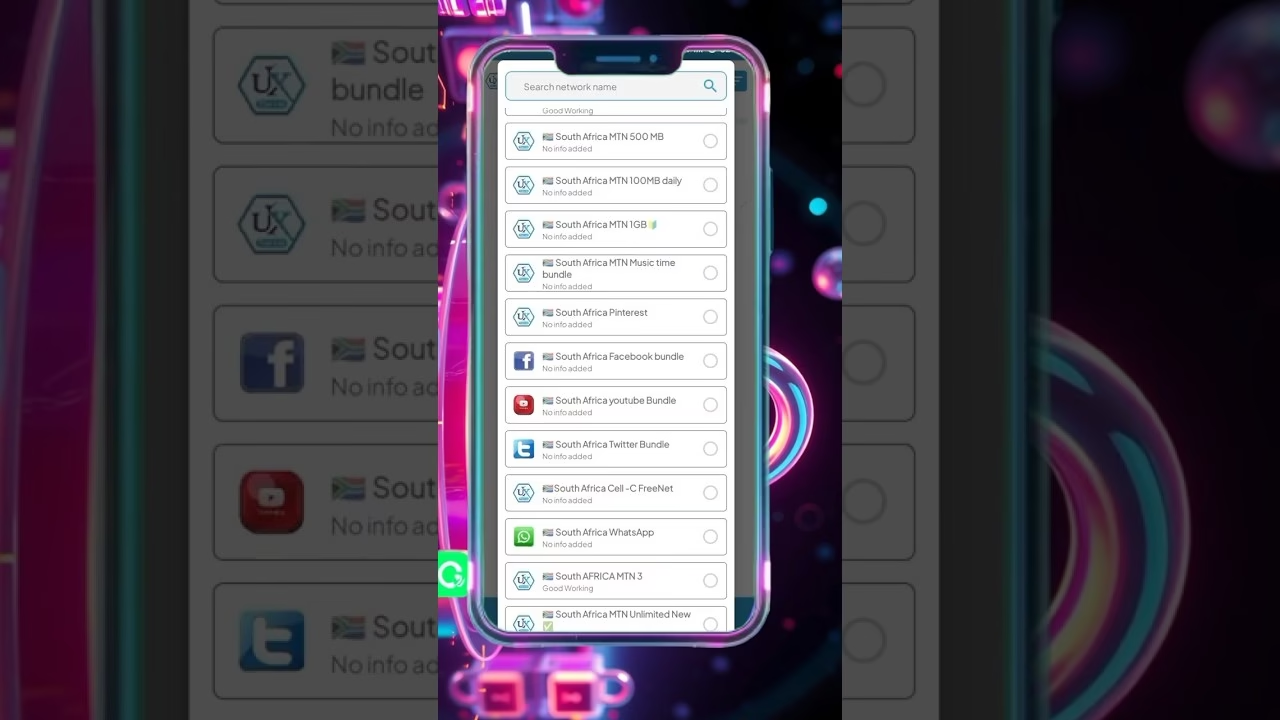
- Download UX Tunnel: Download and install the UX Tunnel VPN application.
- Sync tweaks and servers: Ensure you are connected to the internet to fetch the latest server registry files.
- Select connection settings: Choose a server and apply a bypass payload tweak from the list.
- Connect: Press the Connect button on the main dashboard.
Sharing Connection via Tethering
To share your VPN connection with other devices like laptops, Smart TVs, or consoles:
- Ensure the VPN is active on your host Android device.
- Tap the side menu icon and select Tethering or VPN sharing.
- Activate your personal Wi-Fi hotspot and connect your other device.
- Route client device traffic by setting up a local Wi-Fi proxy using the IP address and port credentials provided in the app.
Frequently Asked Questions (FAQ)
Q1: How do I bypass speed limits on UX Tunnel?
A1: Make sure you select a server with a low latency/ping response time and clear the app cache if you experience sudden slowdowns.
Q3: How do I improve connection speeds?
A3: Select server regions close to your physical presence. Clearing the app cache and choosing V2Ray/SSL over SlowDNS protocols will also significantly boost speeds.
Stay Connected
- 🌎 12_5 TECH Whatsapp channel: Join Channel
- 📢 Telegram Group: Join Telegram Group
- 📺 Telegram Channel: Subscribe to Channel